This article explains how to make an example Arduino project that lights the basic LED (connected in series with resistor to pin 11) using linear fade effect. To build a nice fade effect you need to know how to change the LED brightness, first. The complete code is also on GitHub, here.
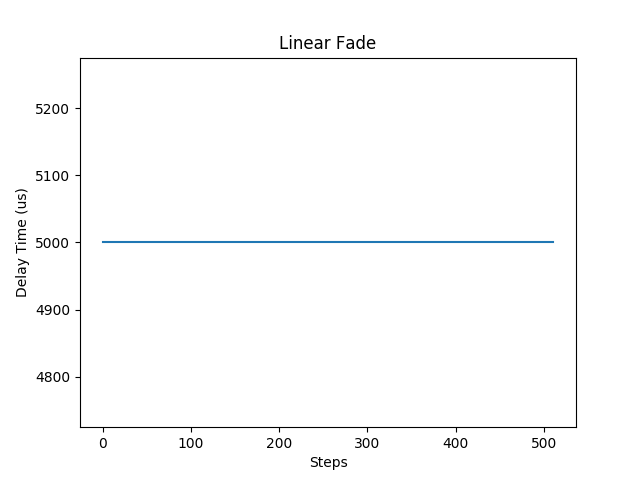
Linear Fade effect changes the LED brightness linearly. It means that the delay time is constant for all steps (see the chart below).
You can change the speed of the fade effect by setting the delay time (milliseconds) like in example code below.
LinearFade fade(led, 3);
Parts List
- arduino board (i.e. Arduino/Genuino UNO)
- resistor – 220Ω, see LED Resistor Calculator
- basic LED
Software
This code is written in C++ and can be compiled using an Arduino IDE. All information about how to compile this project is here.
#include <stdint.h>

/**
 * The instance of this class can control single LED.
 * - on, off, toggle (any digital pin)
 * - brightness (only PWM pins; i.e. for Arduino Uno: 3, 5, 6, 9, 10, 11)
 */
class BasicLed {
public:
  BasicLed(uint8_t pin): pin_(pin) {
    pinMode(pin, OUTPUT);
  }
  /* Light the LED up */
  void on(void) {
    digitalWrite(pin_, HIGH);
  }
  /* Turn the LED off */
  void off(void) {
    digitalWrite(pin_, LOW);
  }
  /* Toogle LED on/off */
  void toggle(void) {
    digitalWrite(pin_, !digitalRead(pin_));
  }
  /* Set LED brightness from range <0, 255> */
  void setBrightness(uint8_t value) {
    analogWrite(pin_, value);
  }
private:
  uint8_t pin_;
}; /* End of class BasicLed */

class LinearFade {
public:
  LinearFade(const BasicLed& led, uint8_t delay_ms = 5):
    led_(led), delay_ms_(delay_ms) {}
  /* Fade-in */
  void in(void) {
    for (int16_t i = 0; i < 256; ++i) {
      led_.setBrightness(i);
      delay(delay_ms_);
    }
  }
  /* Fade-out */
  void out(void) {
    for (int16_t i = 255; i > 0; --i) {
      led_.setBrightness(i);
      delay(delay_ms_);
    }
  }
private:
  const BasicLed led_;
  uint8_t delay_ms_;
}; /* End of class LinearFade */

BasicLed led(11);
LinearFade fade(led);

void setup() {
  // do nothing
}

void loop() {
  fade.in();
  fade.out();
}
