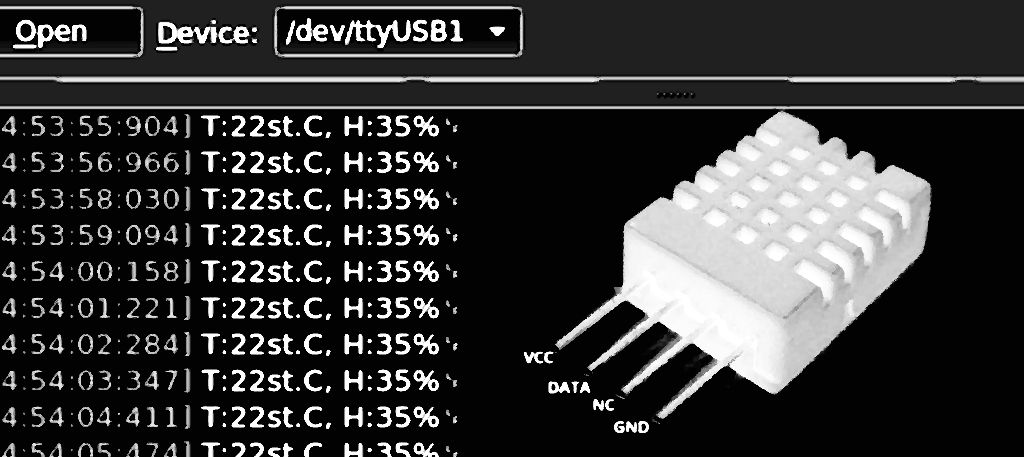
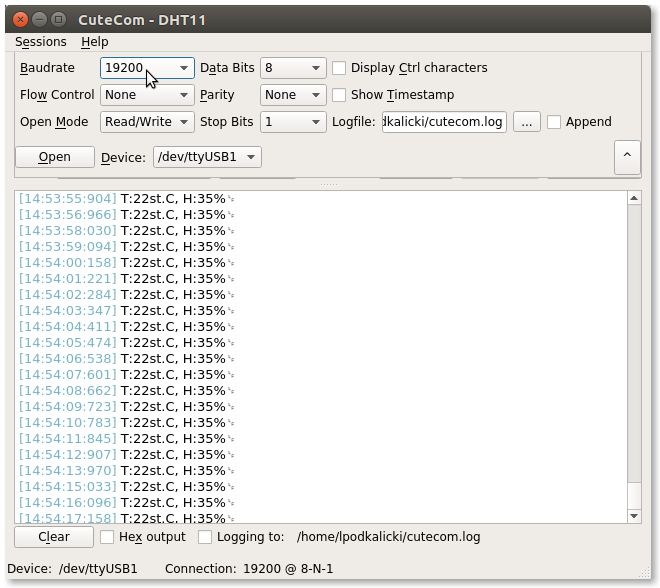
This article shows how to make ATtiny13 to read temperature and humidity from DHT11 sensor and log this information using a Software UART. What you need is connect DHT11 DATA-pin to PB0 and RX-pin of USB to serial adapter to PB3 of ATtiny13. You also need to connect sensor to power supply (3.3V or 5V). Well, with a little code modification, the Attiny13 would print this information on display (i.e. TM1637 or MAX7219). The complete code is on GitHub, here.
Required Parts
- ATtiny13 – i.e. MBAVR-1 (Minimalist Development Board)
- DHT11 sensor
- USB to serial adapter
Software
This code is written in C and can be compiled using the avr-gcc. All information about how to compile this project is here.
/**
 * Copyright (c) 2019, Łukasz Marcin Podkalicki <lpodkalicki@gmail.com>
 * ATtiny13/030
 * Read data from DHT11 sensor and log temperature and humidity
 * using software uart (19200/8N1).
 *
 * Settings:
 *  FUSE_L=0x6A
 *  FUSE_H=0xFF
 *  F_CPU=1200000
 */

#include <avr/io.h>
#include <util/delay.h>
#include "uart.h"

#define DHT_PIN            PB0

#define DHT_ERR_OK         (0)
#define DHT_ERR_TIMEOUT    (-1)

#define DHT_PIN_INPUT()    (DDRB &= ~_BV(DHT_PIN))
#define DHT_PIN_OUTPUT()   (DDRB |= _BV(DHT_PIN))
#define DHT_PIN_LOW()      (PORTB &= ~_BV(DHT_PIN))
#define DHT_PIN_HIGH()     (PORTB |= _BV(DHT_PIN))
#define DHT_PIN_READ()     (PINB & _BV(DHT_PIN))
#define DHT_TIMEOUT        (10)

static void dht_init(void);
int8_t dht_read(uint8_t *temperature, uint8_t *humidity);

int
main(void)
{
    uint8_t temperature, humidity;

    /* setup */
    dht_init();

    /* loop */
    while (1) {
        dht_read(&temperature, &humidity);
        uart_puts("T:");
        uart_putu(temperature);
        uart_puts("st.C, H:");
        uart_putu(humidity);
        uart_puts("%\n");
        _delay_ms(1000);
    }
}

void
dht_init(void)
{

    DHT_PIN_INPUT();
    DHT_PIN_HIGH();
}

static int8_t
dht_await_state(uint8_t state)
{
    uint8_t counter = 0;
    while ((!DHT_PIN_READ() == state) && (++counter < DHT_TIMEOUT)) { _delay_us(1); };
    return counter;
}

int8_t
dht_read(uint8_t *temperature, uint8_t *humidity)
{
    uint8_t i, j, data[5] = {0, 0, 0, 0, 0};

    /* send start sequence */
    DHT_PIN_OUTPUT();
    DHT_PIN_LOW();
    _delay_ms(20);
    DHT_PIN_INPUT();
    DHT_PIN_HIGH();

    /* read response sequence */
    if (dht_await_state(0) < 0 || dht_await_state(1) < 0 || dht_await_state(0) < 0) {
        return DHT_ERR_TIMEOUT;
    }

    /* read data */
    for (i = 0; i < 5; ++i) {
        for (j = 0; j < 8; ++j) {
            data[i] <<= 1;
            data[i] |= !!(dht_await_state(1) > 0 && dht_await_state(0) > 1);
        }
    }

    *temperature = data[2];
    *humidity = data[0];

    return DHT_ERR_OK;
}


I would like to see the implementation of the attiny13 and nrf24l01
Hi,
on my github page you will find Temperature&Humidity Meter based on Lukasz code. I have just added several lines to make it work.
https://github.com/mcore1976/thermometer-DHT11-TM1637
Hi Adam, thank you for giving me credits here and on your github page. Great work. Will test it and share it here – https://blog.podkalicki.com/100-projects-on-attiny13/
hello! its very nice to see so many projects around this cheap ATtiny13.
could you please explain a bit deeper the “dht_await_state()” function?
i cant figure out how it works because when reading the dht11 datasheet, the value of the bits depends on the length of the high pulse on the pin, but when reading your code it seems it just return “1” as soon as dht answer, but where does it count the us lenght to know if the bit is 1 or 0?
i hope you could point me where im missing it. thanks!
and keep working on it, its so cool to see your projects!